Preparations for Creating a Job
 Updated
by
Amy Thomas
Updated
by
Amy Thomas
A job defines which assessments, video interview or live interview your candidates will be completing, as well as any other additional pieces of information you’d like to collect in the process (for example application forms, resumes, certifications and cover letters).
Before creating a new job, there are a few tasks that need to be completed.
Structured interviews
A structured interview may be a:
- Video interview that the candidate completes at a time and place of their choosing. The interview can be manually evaluated by your team or automatically scored by Criteria's IIQ (Interview Intelligence).
- Live interview that guides the interview through the questions to ask the candidate during a phone or face-to-face interview.
Before adding an interview step to your job, you will need to create any custom questions and messages, and build the interview template.

Assessments
If you are including assessments, you will need to create a test battery.
Set up any custom score ranges for the assessments you will be inviting your candidates to complete. The Workplace Alignment Assessment and Illustrait also have some preliminary setup requirements.
Create a custom test that assesses your candidates' job knowledge using TestMaker.
Application form
If you will be collecting additional information about your candidates, you will need to create the application form. You can add filters to your application form to automatically progress candidates who meet (or don't meet) your criteria.
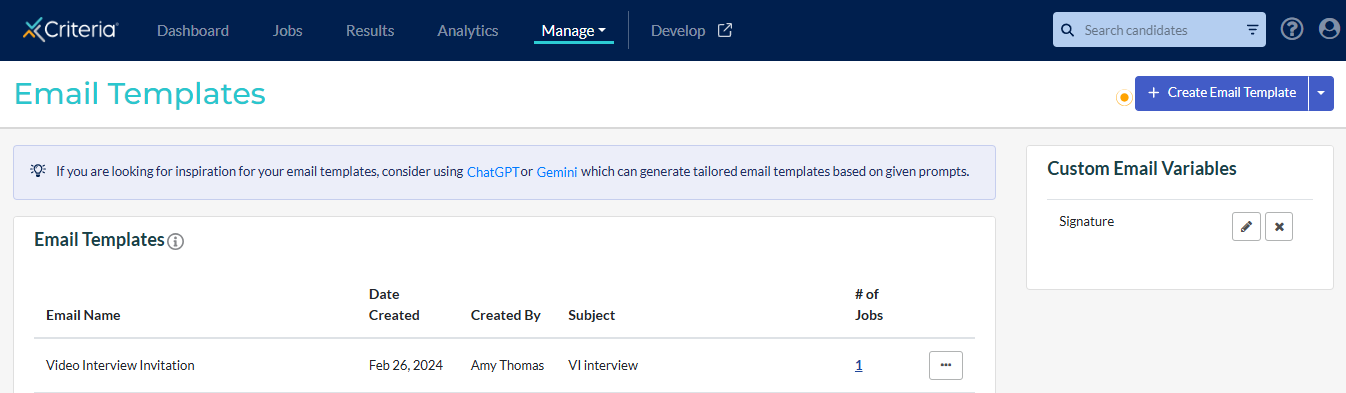
Email templates
We recommend creating custom invitation email templates for your candidates for the assessments and for the video interview.
Landing and Exit Pages
Give your candidates a great first impression when they start their evaluation task by customizing your landing page:
✅ Add your organization's branding with your logo and an image or video.
✅ Include important instructions for the tasks the candidate will be completing.
Customize the last page your candidates will see once they've completed their tasks:
✳️ Thank the candidate for their participation and provide an overview of the next steps in the process, or
✳️ Redirect your candidates to a new website, such as your organization's site.
Next Steps
Now that you have set up all the components, you are ready to create the job. Click here to complete this step in the process.