Report Builder
 Updated
by
Amy Thomas
Updated
by
Amy Thomas
The Report Builder lets you create customized reports on candidates across multiple jobs. Depending on your subscription, you can include data such as candidate details, proctoring outcomes, assessment results, structured interview results, and application form responses.
You can run a report immediately or save it to use again later. When you run a report, it’s generated in the background and emailed to you once ready; the delivery time will vary based on the amount and complexity of the data selected. You can also schedule reports to run automatically.
Starting the report
- To create this report, go to Manage in the top menu and select Run Reports from the dropdown list.

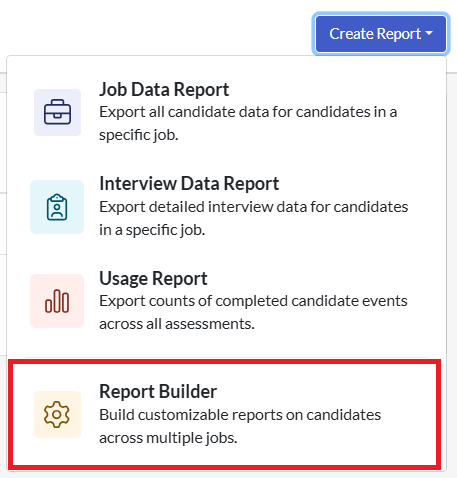
- Click Create Report in the top right corner, then select Report Builder from the list.
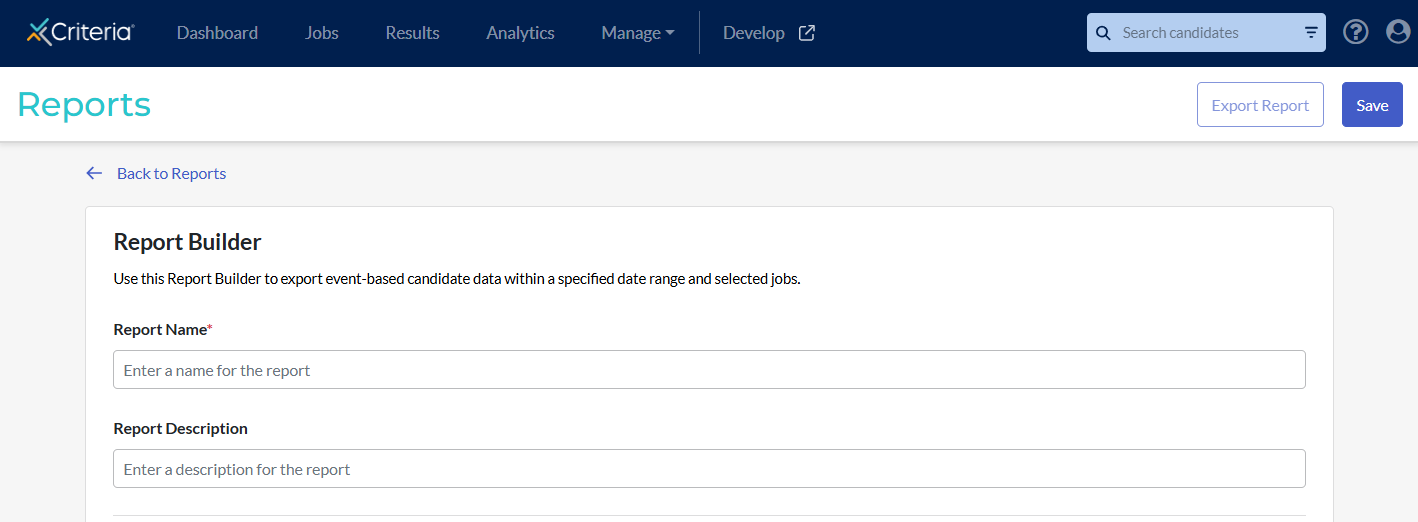
- Enter a name for your report. Add a description of the report, if desired.
Scheduling the report
If you have an Enterprise or Professional subscription, you can set up the report to automatically be sent to you on regular basis.
- Three Times Daily: the report is run at 7am, midday and 4pm.
- Daily: the report is run at 12am.
- Weekly: the report is run at 12am on the day selected.
- Monthly: the report is run at 12am on the first day of the month.
To set this report to periodically run automatically, select the required option from the dropdown list under Schedule Report.

Some points to note regarding scheduled reports:
- When selecting the jobs to include, the All Jobs and Active Jobs options are static: whatever jobs match the criteria at the time the report is created will be included in the report.
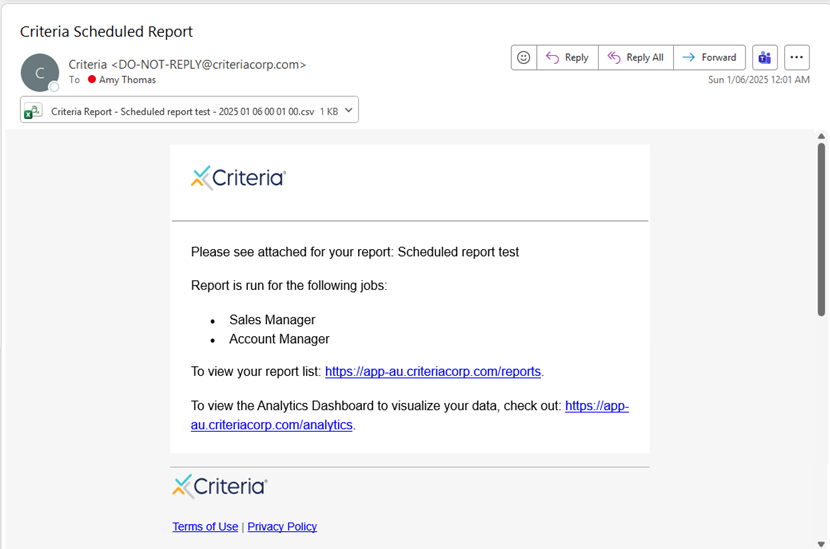
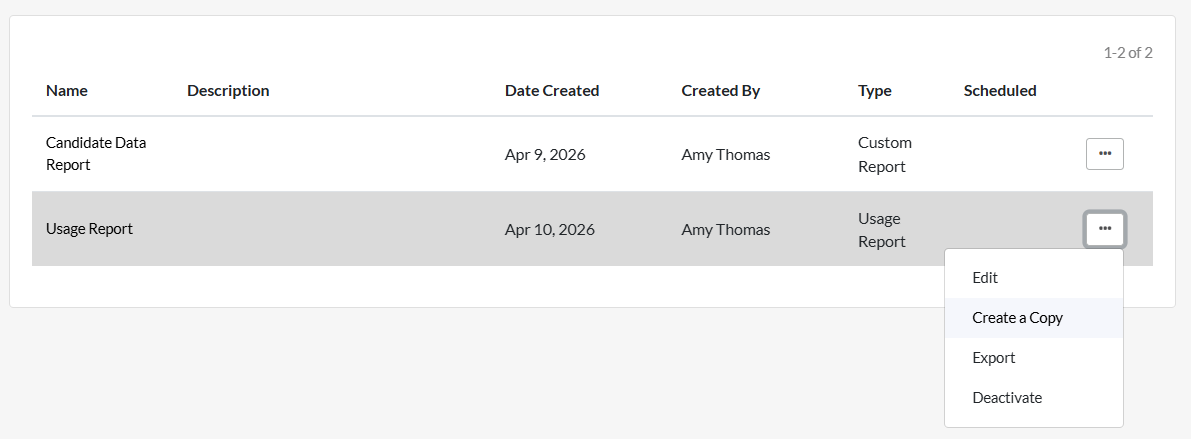
- The scheduled report will only be sent to the user who created the report. If other users need access to this report, they can set up a duplicate report to be sent to them (by copying the report you created).
Adding report filters
You can limit the number of candidates included in the report by setting filters.
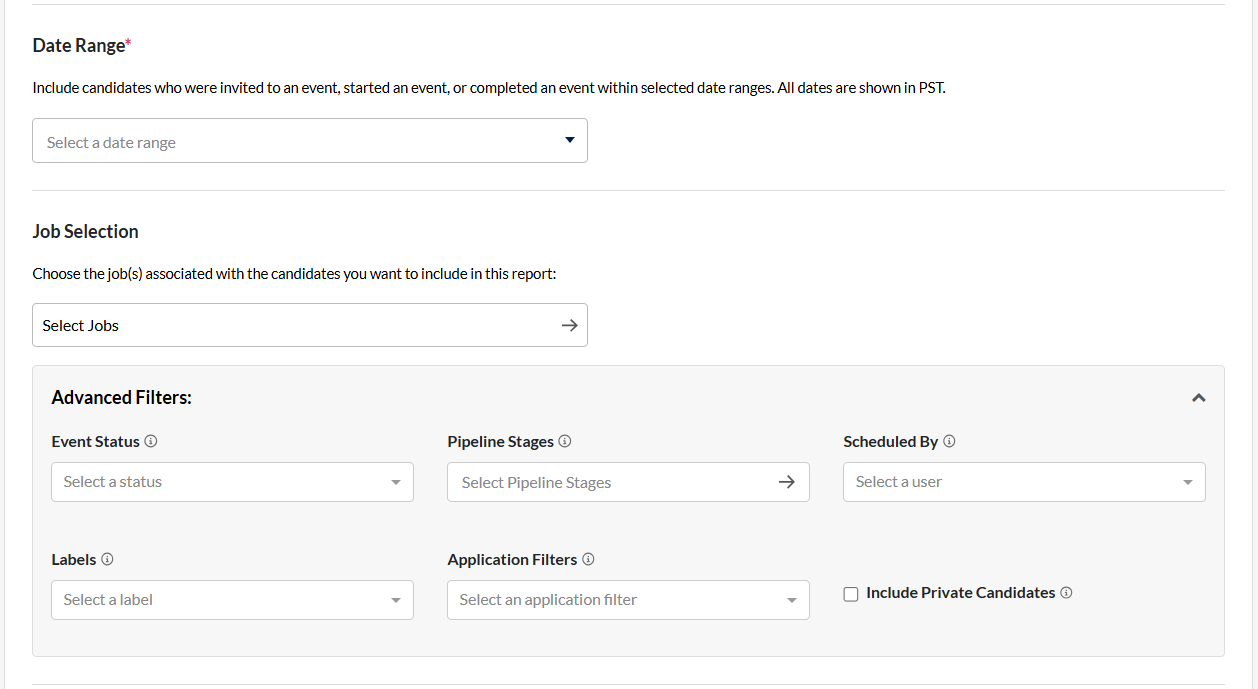
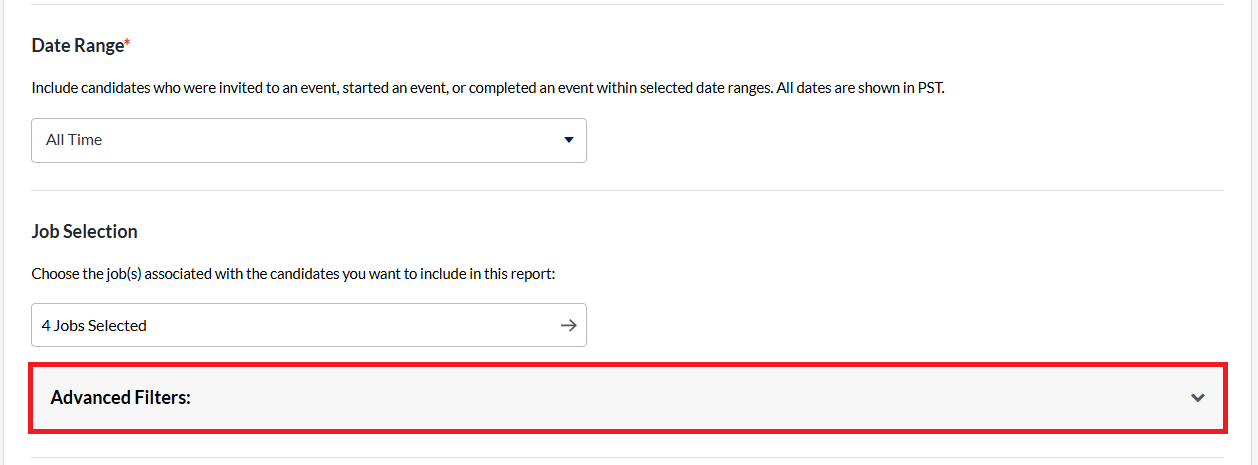
Date Range
Any event where any test activity occurred during the specified time period will be included in the report. Examples include: candidates being invited to complete testing, candidates completing testing.

This filter is mandatory. Click into the Select a date range field to open the list of options.
- All Time: since the selected jobs were created
- Today (current calendar day): since 12am AEST/AEDT today
- Yesterday (previous calendar day): the last full 24 hour period starting 12am AEST/AEDT
- This week (Sunday - Monday): Sunday of this week to today
- Last week (Sunday - Monday): the last full week, not the last 7 days
- This month (current calendar month): the first day of this month to today
- Last month (last calendar month): the last full month, not the last 30 days.
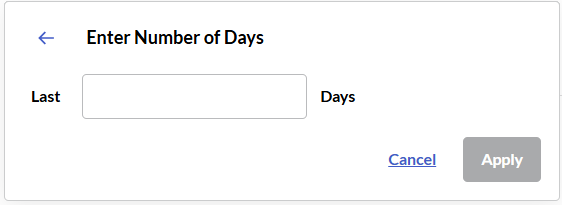
- Last X days: add a specific number (for example, 90, to generate the report for the last 3 months)
- Since X date: data is run from the selected date to today

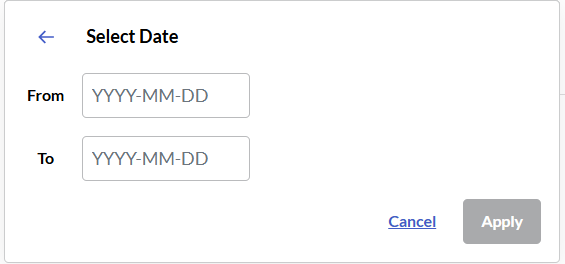
- Custom Date Range: Select the start and finish dates for the data set
Job Selection
All jobs selected at the time the report is created will be included. This filter is mandatory.
Click into the Select Jobs field.
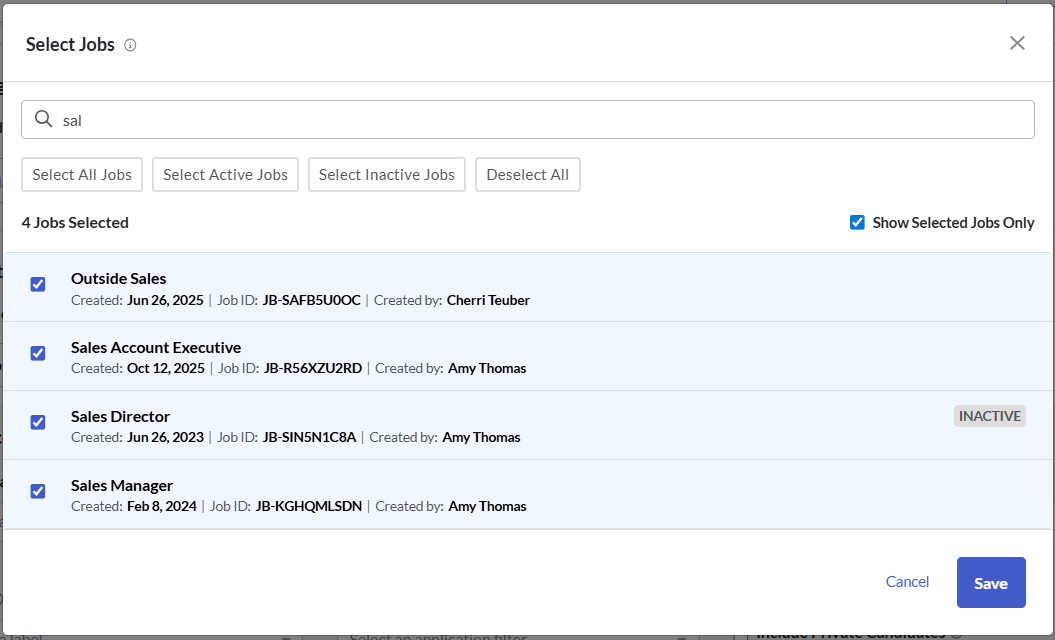
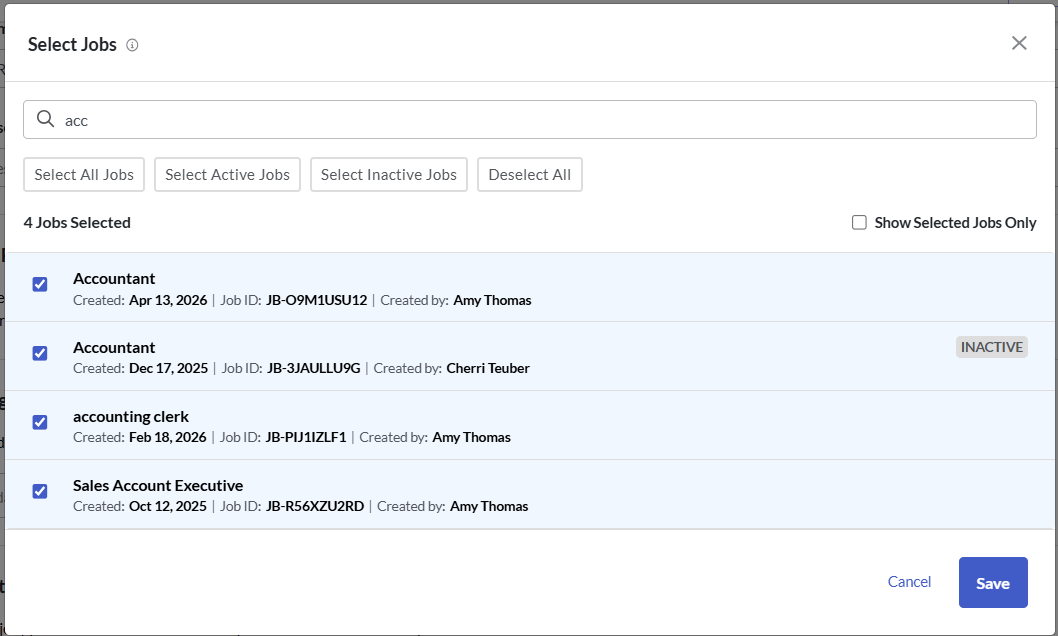
Tick the box to the left of all jobs to be included in the report. Alternatively, click Select All Jobs, Select Inactive Jobs or Select Active Jobs. If you have a large list of jobs, you can search the list by typing part of the job title into the search field.
Note: if you select All Jobs or All Active Jobs, this will not automatically update to include jobs created after the report was saved.
Click Save.
Advanced filters
These filters are not mandatory. To view and select these filters, click Advanced Filters.
Event Status
Pipeline Stages
Note: The report will not include candidates who have been in that pipeline stage but are not in that pipeline stage when the report is generated.
Scheduled By
Labels
Application Filters
Include private candidates
Note: When multiple filters are used at the same time, this can affect the results that will be included in the report.
If the Date filter and Event Status filter are used, the report will only include test activity for the requested Event status if that is the active status for the candidate when the report is run. The report does not check what the candidates' status was during the time period selected, only what it is when the report is run.
For example, if you filter the report to Invited candidates for Yesterday, a candidate that was invited yesterday but has completed testing today will not be included in the report. This is because their current status is Completed, even though they were at Invited status yesterday.
One way to work around this is to select a time period longer than Yesterday (e.g. from two days ago to several days in the future) and not use the Test Status filter. In the download spreadsheet you can then check all candidates who have a Started Date of yesterday's date.
Report Columns
Select the columns that you want to appear in the report. You can include assessment data, proctoring data, some video interviewing data and your candidates' application form responses in this report.
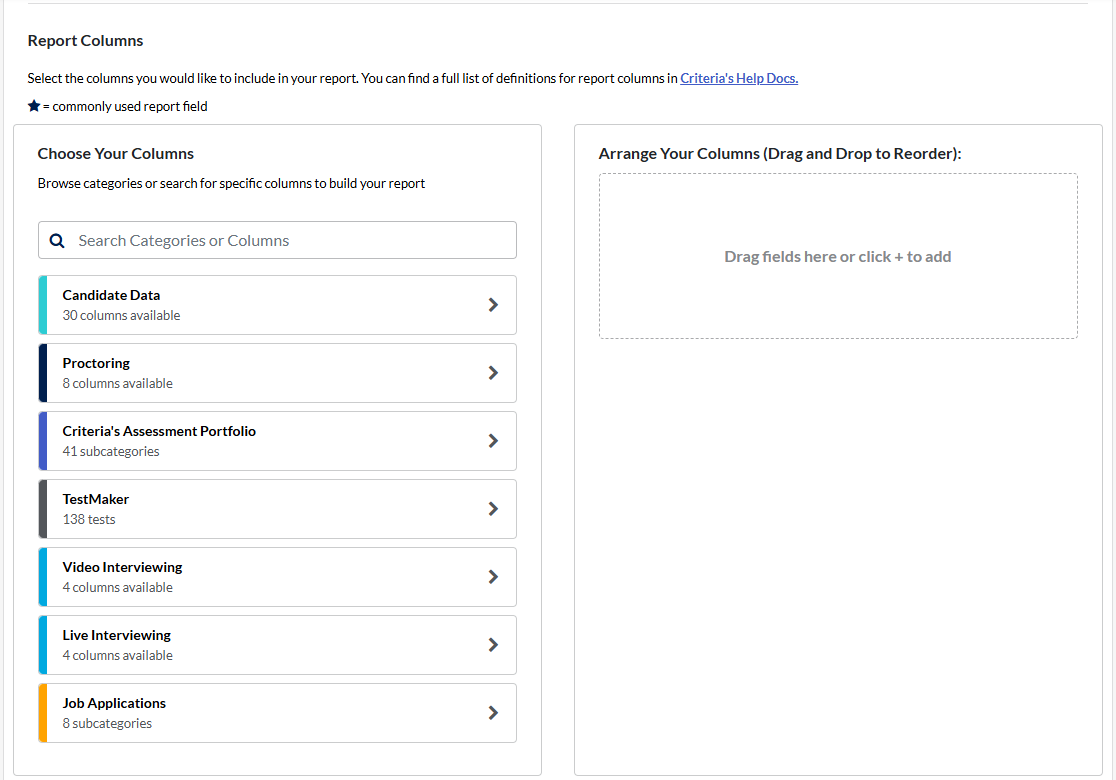
- Click the plus sign next to the category on the left.
- Add each required field by clicking the plus sign next to it.
- Click Back to Categories to return to the category list. Repeat steps 1 and 2 until all fields have been added to your report.
- Rearrange the report columns by clicking the 6 dots and dragging the field to the desired location.

Saving and running the report
Once you have selected all your filters and required data, you can then save and run the report you have created.
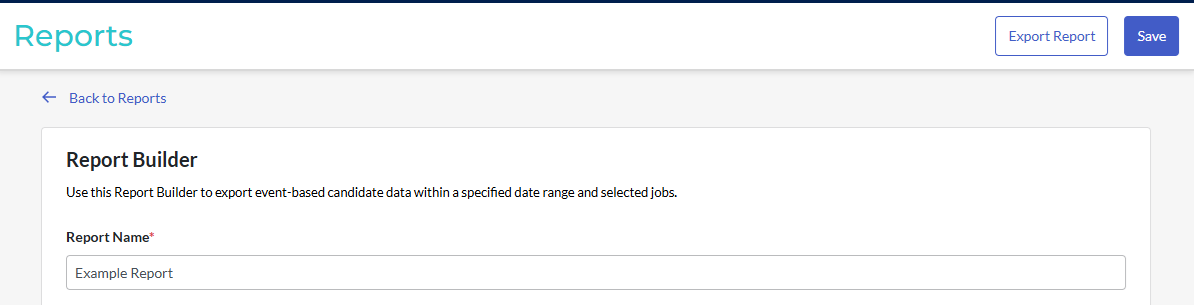
- Click Save to save your report. Note that you will not be able to save your report if mandatory fields have not been completed.
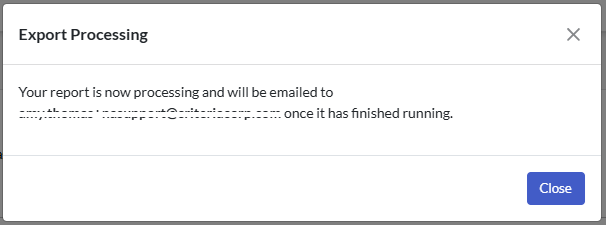
- Click Export Report to generate the report. Your report will be processed and emailed to you. You can close the pop up message to continue with your work while the report is generated.
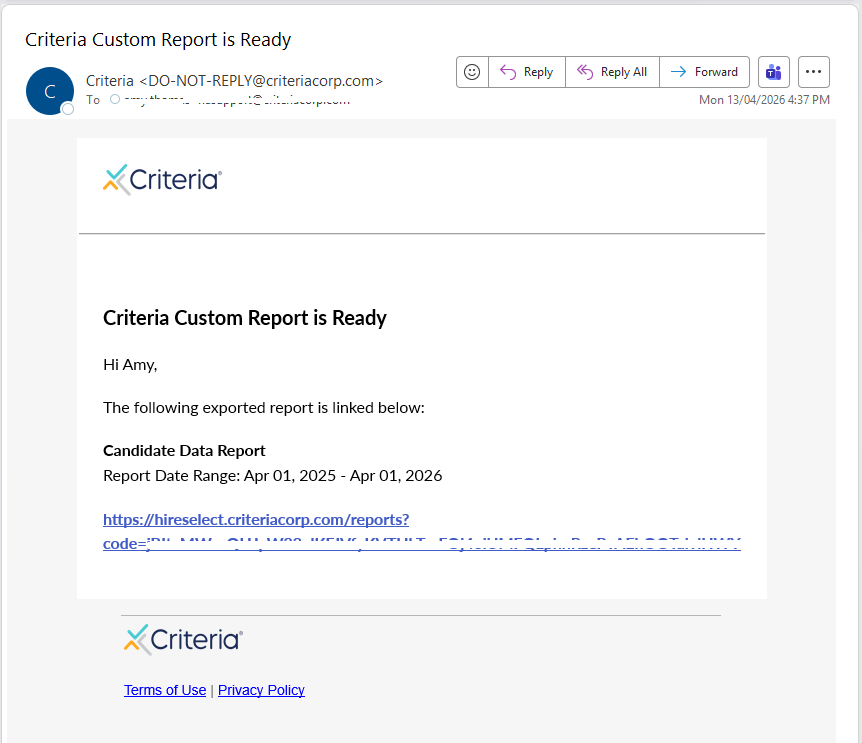
- An email will be sent to your registered email address. Click on the link in the email.
- Click Download Report. A .csv file containing the requested data will be downloaded to your device.
