Create an Email Template Using the Visual Email Builder
 Updated
by
Amy Thomas
Updated
by
Amy Thomas
Use the Visual Email Builder in your Criteria account to build custom, branded email templates that include any additional details your candidates need.
Check out our HTML Editor
View our tips on using HTML in your email templates
Download our Candidate Communication Toolkit
Create email template
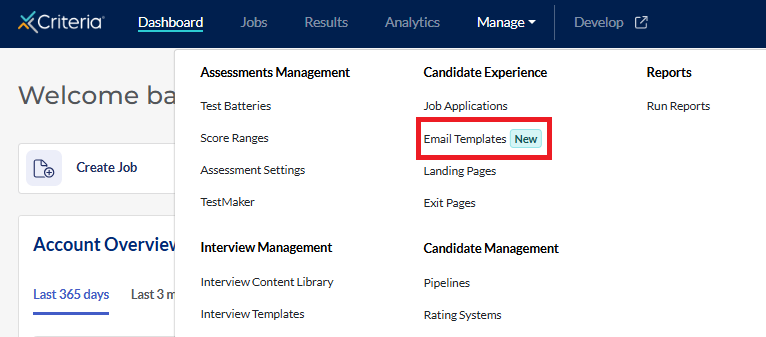
- Click Manage in the top navigation bar, then click Email Templates.
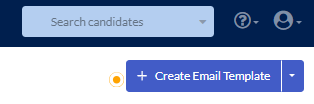
- Click Create Email Template. (Or click the down arrow and select Visual Builder.)
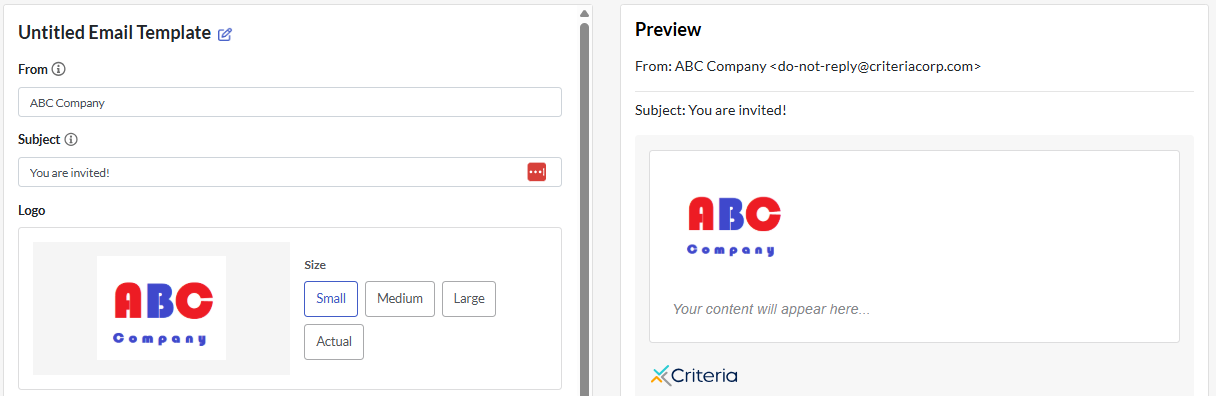
- The left half of the screen is where you will enter your template details. The Preview section on the right side automatically updates as you add content.
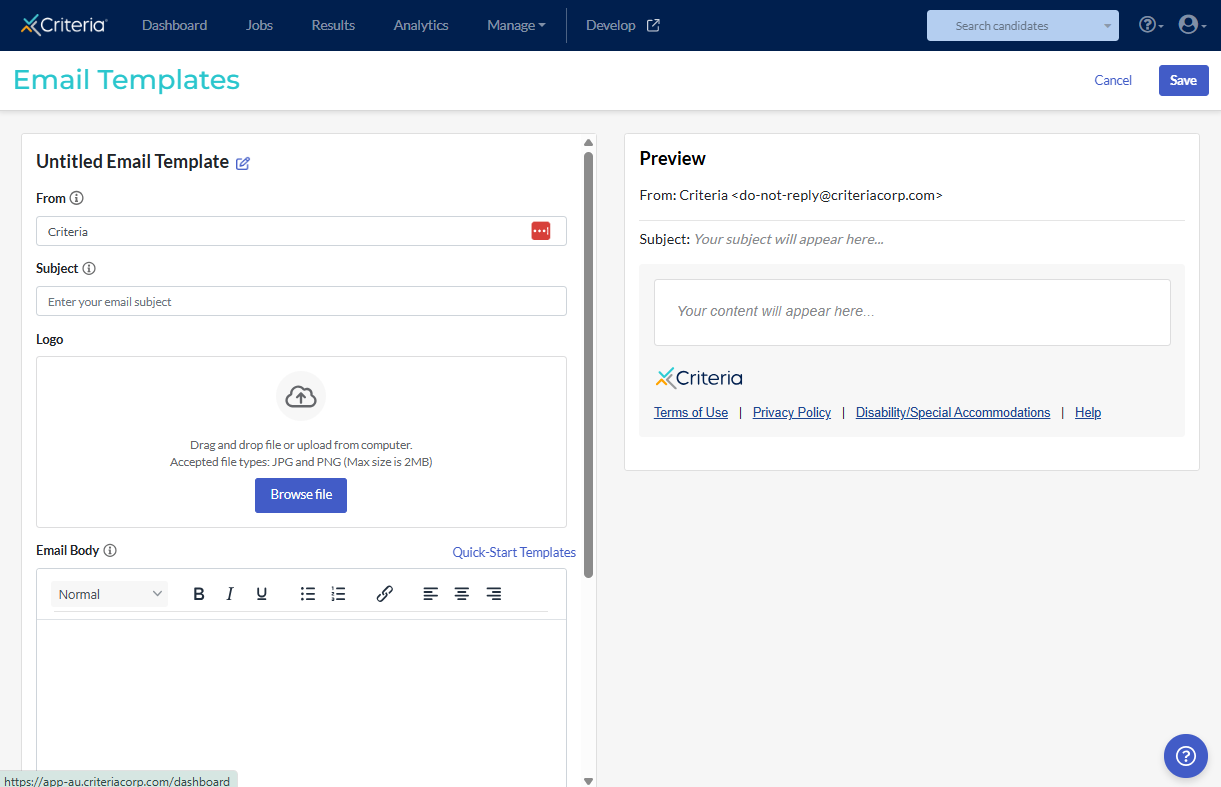
- Untitled Email Template: click the pencil icon to give the template a name. The name might indicate when it should be used or be a description of the content.
- From: add the Sender name you wish candidates to see. Emails from the Criteria platform come from do-not-reply@criteriacorp.com.
- Subject: add the Subject for the email. You can personalize this with {[position]} and {[company]}.
- Logo: upload your organization's logo or another image that is meaningful for your organization. This will appear above the text in the email body. The maximum file size is 2MB however you can select whether the image will be displayed as small, medium, large, or actual size.
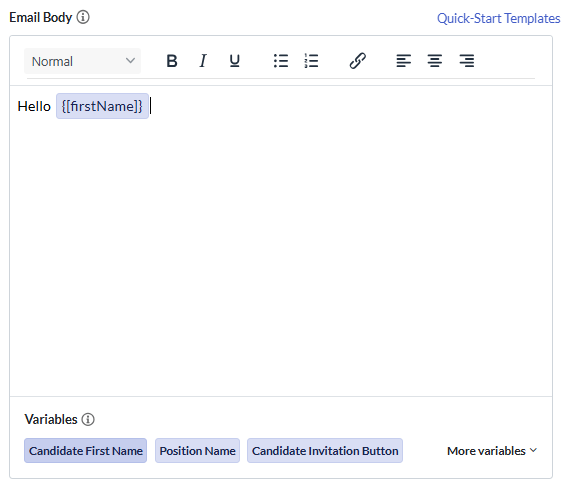
- Add the Email Body content. You can copy and paste text drafted elsewhere or type directly in the field.
- To use the template as an invitation or reminder email, at a minimum you will need to include the Candidate Invitation Button or Candidate Testing Link email variable to your template so that it will appear in the list when you set up assessment invitations.
- To add variables, place the cursor in the text where you want the variable to appear, then click on the variable in the Variables section. See below for more information.
Example: the default system email templates refer to completing assessments, which may be confusing to candidates who you have invited to complete a video interview. Use our example text to create a custom email template to let your candidates know that the invitation is to complete a video interview.
.

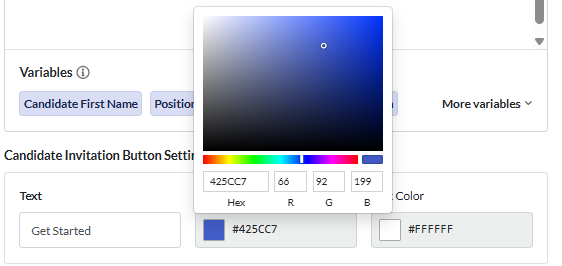
- By default, the Candidate Invitation Button will say "Get Started" in white text on a blue background. To change this:
- Highlight the text and replace it with your preferred wording.
- Click on the color squares for Background Color and Text Color. You can select a new color by adding the HEX code, RGB code or using the color picker.
- The Criteria Footer provides candidates with links to useful information. This can be removed by toggling this option off.

- Click Save in the top right to save your email template. This is now ready for use. If you have included the Candidate Invitation Button or Candidate Testing Link variable or the Event ID and General Testing Center Link this email template will be visible when you invite candidates or send them a reminder to complete an evaluation task.
Variables
Variables enable you to personalize the email (similar to mail merge). When the email is sent, the variable will be replaced with real data.
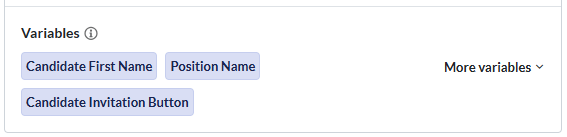
The most commonly used variables - Candidate First Name, Position Name, and Candidate Invitation Button - are displayed for easy access. However other variables are available.
Click More Variables to view a list of the available options. Click on an option to add it to the email template.
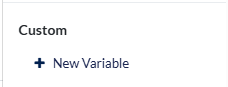
You can create custom email variables, which allow you to enter in different information based on the user who is sending the email to your candidate. For example, you want to include location information for an interview that is specific to the individual user sending out the email. To set this up:
- Click + New Variable.
- In the pop-up window, name the custom email variable, then enter in the value you would like to associate with each user of the platform. This value will be added into the email when it sent to the candidate, depending on whose login the email was sent from.
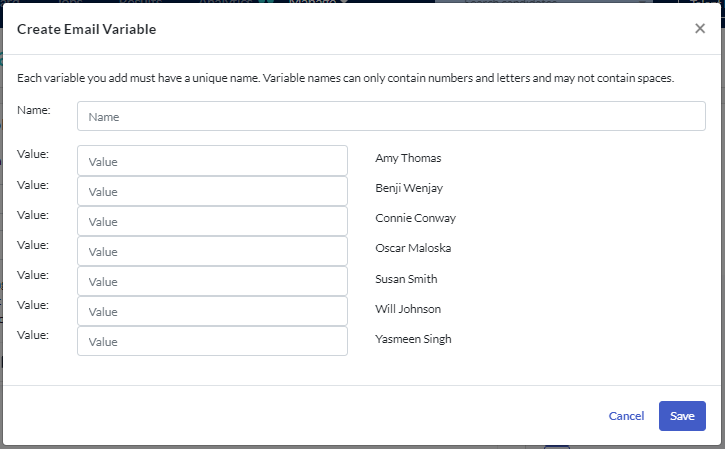
- After you've entered in the values click Save. You can now use the custom email variable in your email templates!
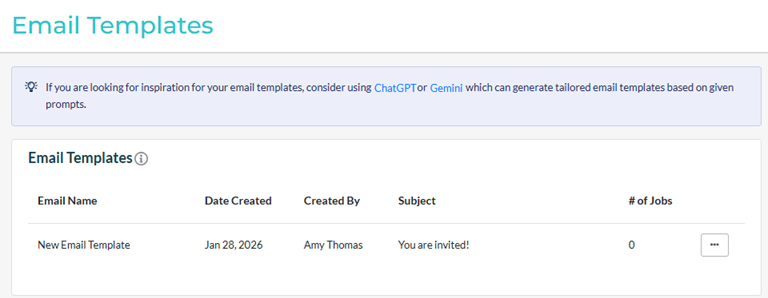
Update an email template
To make changes to an email template, in the Email Templates list, click ... to the right of the template. Select Edit Template from the dropdown menu.
Update the template and click Save to retain the changes.

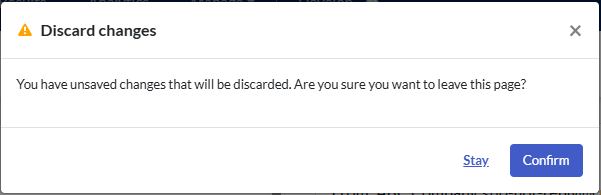
If you make changes to the template but click Cancel, you will be asked to confirm if you wish to discard your changes.