How to Use HTML in Your Email Template
 Updated
by
Amy Thomas
Updated
by
Amy Thomas
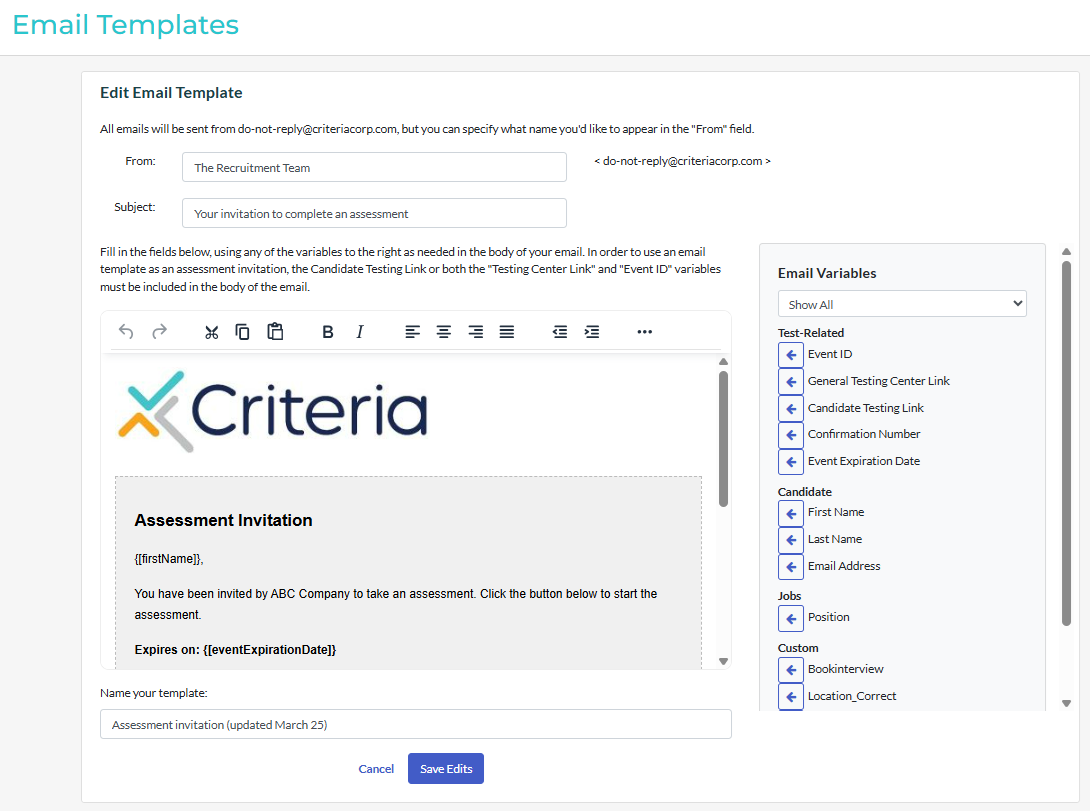
Use the HTML Editor in your Criteria account to build custom email templates that include the additional information your candidates need.
To enhance the look of your template and draw attention to the assessment link candidates must click, select the Source Code button and add HTML to your message.
New to HTML? No problem, we’ve provided a couple of ready-to-use examples below.
HTML code example
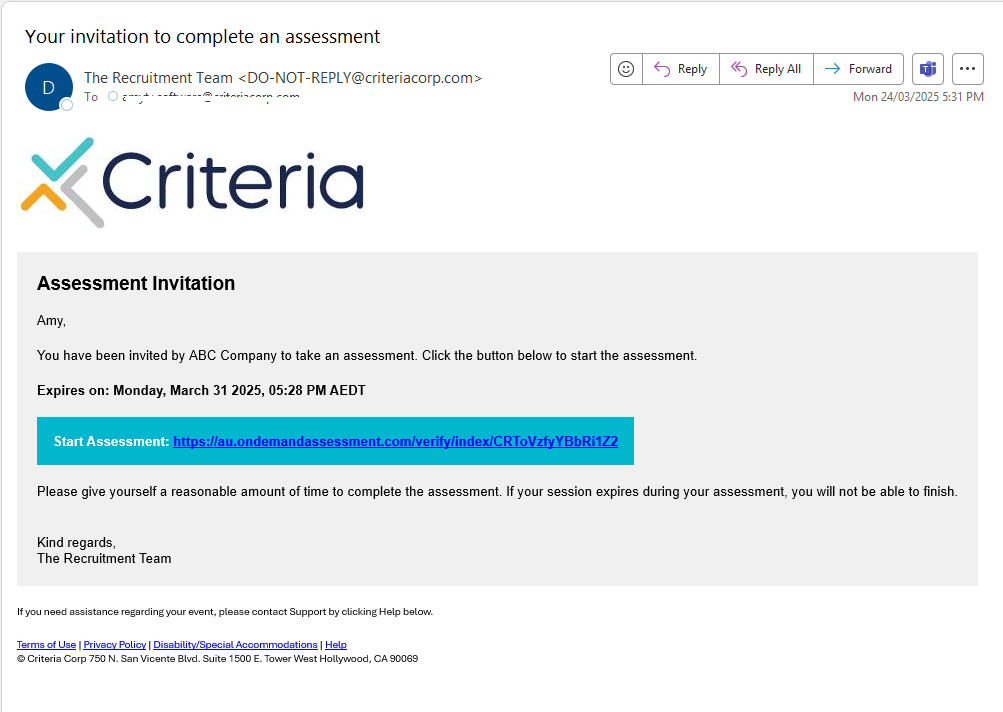
Here is the full code for our example email template. Below, we will highlight the items you will need to change to suit your organisation’s needs and where to add it in your Criteria account.
<p><img src="https://criteria-corp-object-store-au.s3.ap-southeast-2.amazonaws.com/hireselect/userfiles/image6/Criteria-Logo-Color%20small%20small.jpg" alt="Criteria logo" height="100"></p>
<table cellspacing="0" cellpadding="0">
<tbody>
<tr>
<td style="background-color: #f0f0f0; padding: 20px;">
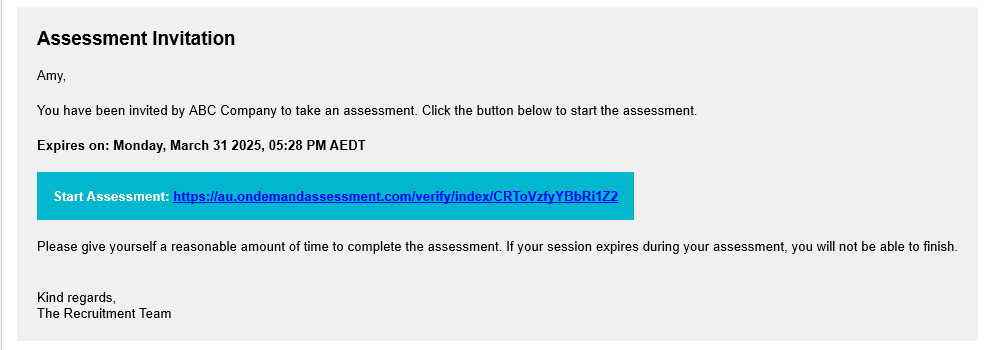
<p><strong><span style="font-size: 14pt; font-family: arial, helvetica, sans-serif;">Assessment Invitation</span></strong></p>
<p><span style="font-size: 10pt; font-family: arial, helvetica, sans-serif;">{[firstName]},</span></p>
<div>
<p><span style="font-family: arial, helvetica, sans-serif; font-size: 10pt;">You have been invited by ABC Company to take an assessment. Click the button below to start the assessment.</span></p>
<p><span style="font-family: arial, helvetica, sans-serif; font-size: 10pt;"><strong>Expires on: {[eventExpirationDate]}</strong></span></p>
</div>
<table border="0" cellspacing="0" cellpadding="20">
<tbody>
<tr>
<td style="background-color: #00b7ce; text-align: center;">
<p style="color: #ffffff;"><span style="font-family: arial, helvetica, sans-serif; font-size: 10pt;"><strong>Start Assessment: {[candidateTestingLink]}<br></strong></span></p>
</td>
</tr>
</tbody>
</table>
<p><span style="font-family: arial, helvetica, sans-serif; font-size: 10pt;">Please give yourself a reasonable amount of time to complete the assessment. If your session expires during your assessment, you will not be able to finish.</span></p>
<p style="margin: 0in; font-family: Verdana; font-size: 10pt;"><span style="font-family: arial, helvetica, sans-serif; font-size: 10pt;"> </span></p>
<p style="margin: 0in; font-family: Verdana; font-size: 10pt;"><span style="font-family: arial, helvetica, sans-serif; font-size: 10pt;">Kind regards,</span></p>
<p style="margin: 0in; font-family: Verdana; font-size: 10pt;"><span style="font-family: arial, helvetica, sans-serif; font-size: 10pt;">The Recruitment Team</span></p>
</td>
</tr>
</tbody>
</table>
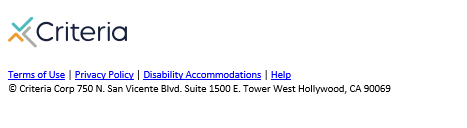
<p style="text-align: left;"><span style="font-size: 8pt;">If you need assistance regarding your event, please contact Support by clicking Help below.</span></p>
<p style="text-align: left;"><span style="font-size: 8pt;"><a href="https://criteriacandidates.helpdocs.io/article/hltjyablcg-terms-and-conditions-of-use">Terms of Use</a> | <a href="https://criteriacandidates.helpdocs.io/article/la9ik5yota-privacy-policy">Privacy Policy</a> | <a href="https://criteriacandidates.helpdocs.io/article/qxyaa8wels-disability-accommodations">Disability/Special Accommodations</a> | <a href="https://criteriacandidates.helpdocs.io/article/nvff3euys3-frequently-asked-questions">Help<br></a>© Criteria Corp 750 N. San Vicente Blvd. Suite 1500 E. Tower West Hollywood, CA 90069</span></p>
HTML lines to update
Line 1: this is where your organisation’s logo will sit. Criteria do not host images on behalf of our customers but your own organisation may have this function set up already. We recommend checking with your Marketing or IT departments to see if they can host your images for your custom email template. If not, some of our customers are using the image hosting site https://i.ibb.co and have found it reliable. Please use your own due diligence before using this or any other image hosting site to ensure it is right for your organisation.
<p><img src="https://criteria-corp-object-store-au.s3.ap-southeast-2.amazonaws.com/hireselect/userfiles/image6/Criteria-Logo-Color%20small%20small.jpg" alt="Criteria logo" height="100"></p>
- Change https://criteria-corp-object-store-au.s3.ap-southeast-2.amazonaws.com/hireselect/userfiles/image6/Criteria-Logo-Color%20small%20small.jpg to the URL for your hosted image. This might be your organisation’s logo or a promotional image.
- In alt="Criteria logo", change the text in quotation marks to refer to your own organisation or use some other text that indicates what the image is of.
- If you want to change the size of the logo as it appears in the email, change the number value in height="100". The higher the number, the larger the image will be.
Line 5: this line is for the grey box that the main text of the email sits within.
<td style="background-color: #f0f0f0; padding: 20px;">
- Change f0f0f0 to the HEX code of the background colour you wish to use.
- If your organisation does not already have colours specified in a style guide, you can use an online tool, such as this one or this one, to select your colours.
- Colours used in displaying web pages can be specified using RBG values. Each colour has a red value, a green value and a blue value, which are measured between 0 and 255. The HEX code compresses these RBG values into a 6 digit code. Online tools such as the ones linked above can convert between the RBG values and the HEX code for you.

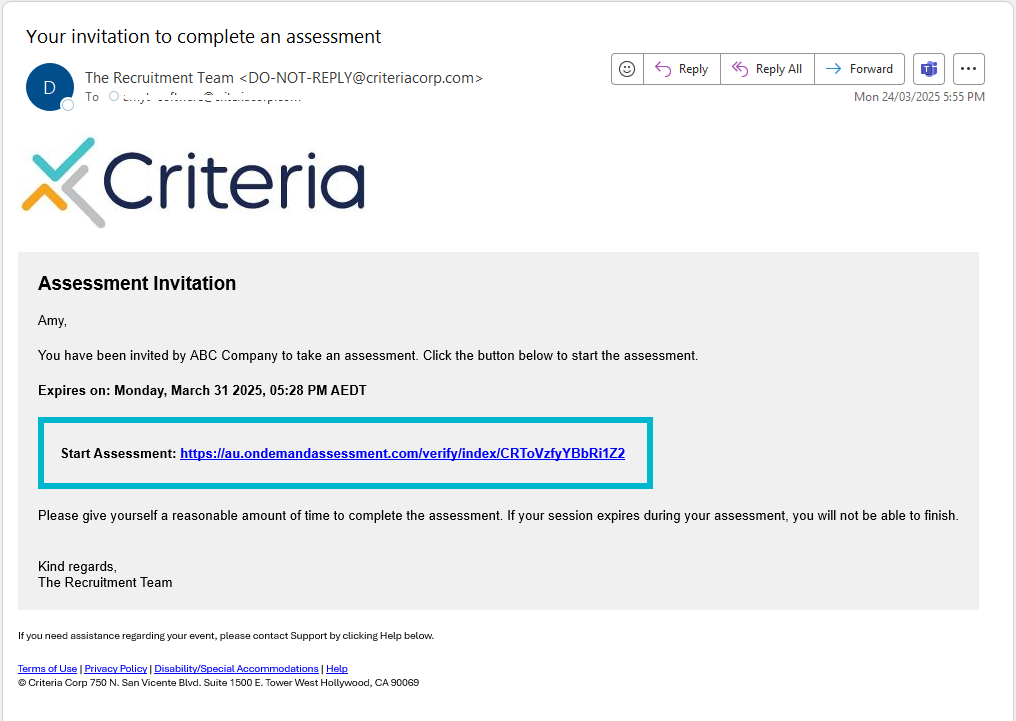
Line 15: this line is for the coloured box around the assessment link.
<td style="background-color: #00b7ce; text-align: center;">
- Change 00b7ce to the HEX code of the colour you wish to use for the assessment link box.
Line 16: this line is for the text in the coloured box around the assessment link.
<p style="color: #ffffff;"><span style="font-family: arial, helvetica, sans-serif; font-size: 10pt;"><strong>Start Assessment: {[candidateTestingLink]}<br /></strong></span></p>
- Select black (color: #000000;) or white (color: #ffffff;) as the text colour, depending on your organisation's branding.
HTML example two
Like the overall look of the email but don't like the solid colour around the assessment link? No problem! We've created an alternative example for you below.
To use this version, make any required changes to lines 1 and 5 of the HTML code example, as per the instructions above. Next, we will be updating lines 12, 15 and 16.

Line 12: this line is for the border around the assessment link.
<table border="0" cellspacing="0" cellpadding="20">
- Replace this line with <table style="border: 5px solid #00b7ce;" cellspacing="0" cellpadding="20">
- To make the border wider, increase the number from 5px to the value you want to use. To make the border narrower, decrease the number from 5px. (That is, 10px will create a wider border than 2px.)
- To change the colour of the border, replace the HEX code (#00b7ce) with the HEX code of the colour you want to use.
Line 15: this line is for the coloured box around the assessment link.
<td style="background-color: #00b7ce; text-align: center;">
- As we do not want the box to be a solid colour, replace the HEX code (#00b7ce) with the HEX code of the main background colour, which is #f0f0f0 in our example.
- If you have changed the background colour in line 5 from the grey used in the example, you will need to add the HEX code for the colour you are using for the background here, instead of #f0f0f0.
Line 16: this line is for the text in the box around the assessment link.
<p style="color: #000000;"><span style="font-family: arial, helvetica, sans-serif; font-size: 10pt;"><strong>Start Assessment: {[candidateTestingLink]}<br /></strong></span></p>
- Select black (color: #000000;) or white (color: #ffffff;) as the text colour, depending on your organisation's branding.
So, lines 12 to 16 of your source code should look like this:
<table style="border: 5px solid #00b7ce;" cellspacing="0" cellpadding="20">
<tbody>
<tr>
<td style="background-color: #f0f0f0; text-align: center;">
<p style="color: #000000;"><span style="font-family: arial, helvetica, sans-serif; font-size: 10pt;"><strong>Start Assessment: {[candidateTestingLink]}<br></strong></span></p>
How to add to your Criteria account
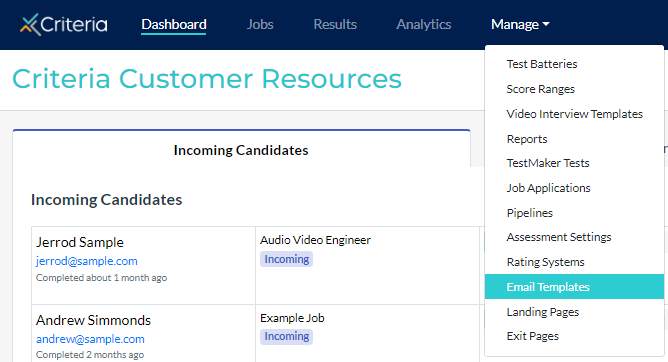
To add a html email template to your account, log in to your Criteria platform and select “Email Templates” from the Manage dropdown list.
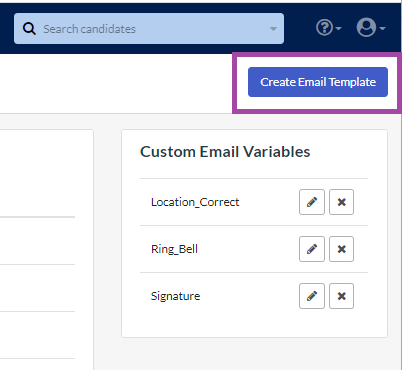
Click “Create Email Template”.
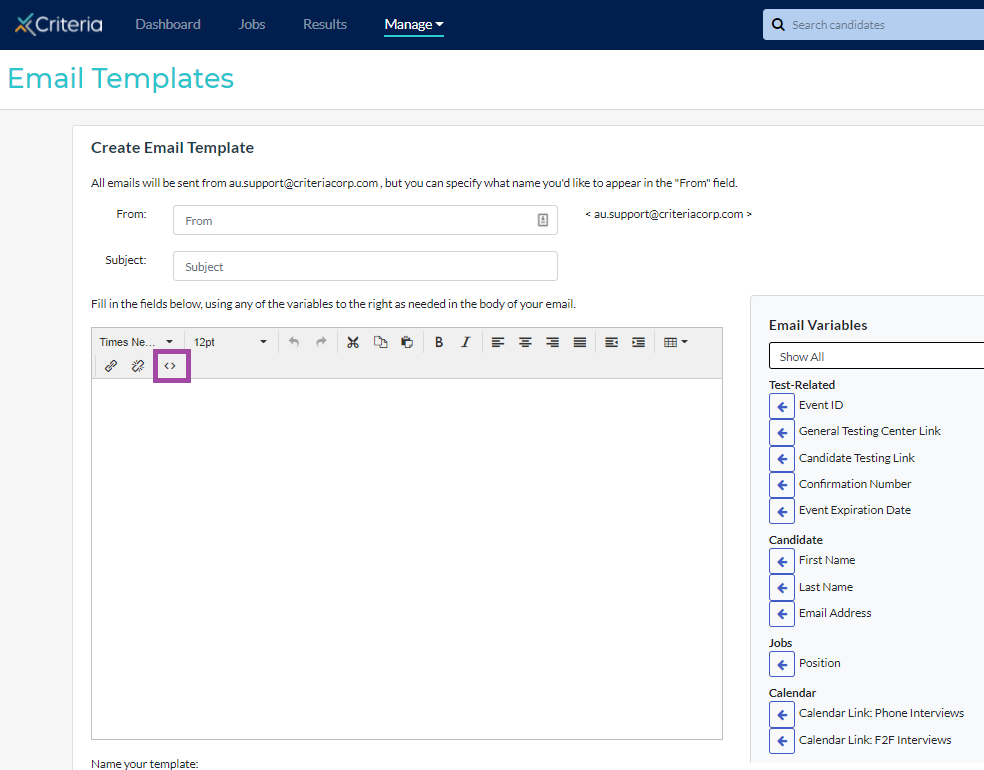
In the email body field, click the Source Code icon, which looks like two arrows pointing away from each other.
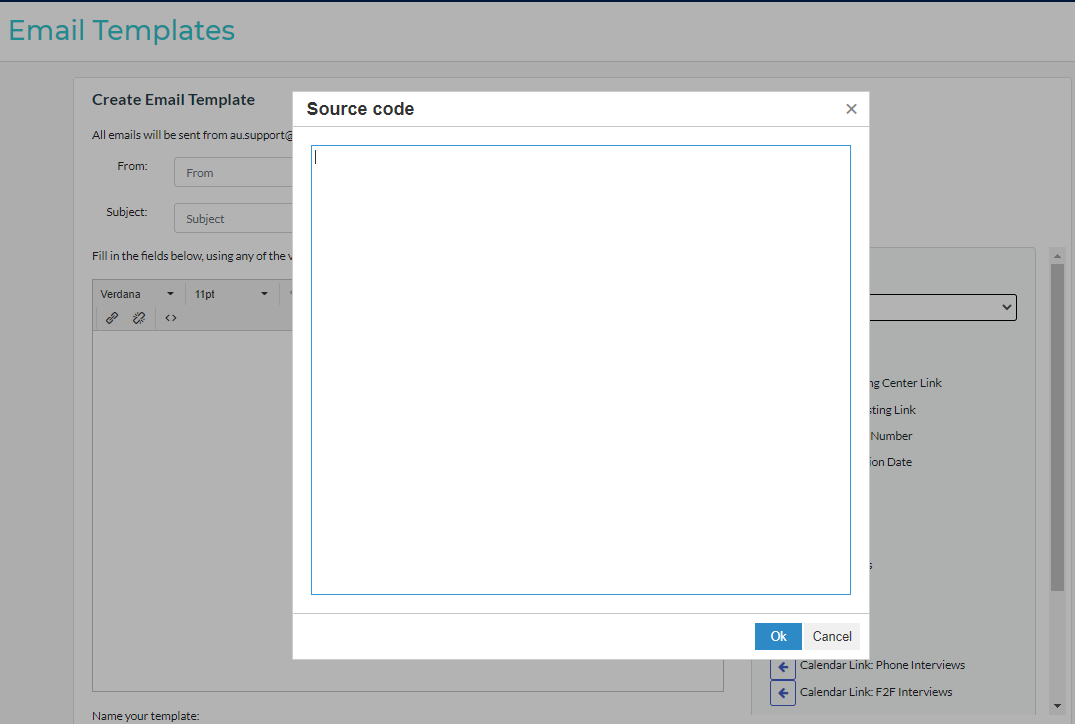
Paste in the source code for your email template and click Ok.
Your email template will appear in the email body field. To update the html for your template, click the Source Code button and make any changes there.
Updating the content
You can change any of the text in the email template from within the email body field, by overwriting text you want to update. We recommend not making any changes to the text at the bottom of the email, which contains links to our help content for your candidates.
Text that is shown in {[ ]} (for example {[firstName]}) indicates an email variable that drops the relevant text for each candidate into the email when it is sent from the system. When updating the text content of your email, the text shown in the template for any email variables should not be amended; the text must be exact so the system knows to insert the appropriate text into the email.
[COMPANY_NAME] in the email template is not an email variable; the text saved here is what will be sent to your candidates. You will need to update this to your organisation’s name (or another identifier you wish to use, such as department name).
{[candidateTestingLink]} is an email variable that must be included in the email template so it can be used as an invitation email. As it is an email variable, this can’t be converted to a hyperlink.
{[eventId]} is an email variable that drops the candidate’s unique test event ID into the email when it is sent from the system. We recommend including this in your email template so candidates can return to their session if required.
If you will not be setting expiry dates for your candidates' invitations, the expiry date line should be removed from the email template. If the line is left in and there is no expiry date set, the candidate will see Expires on: but the remainder of the line will be blank. This may confuse some candidates.